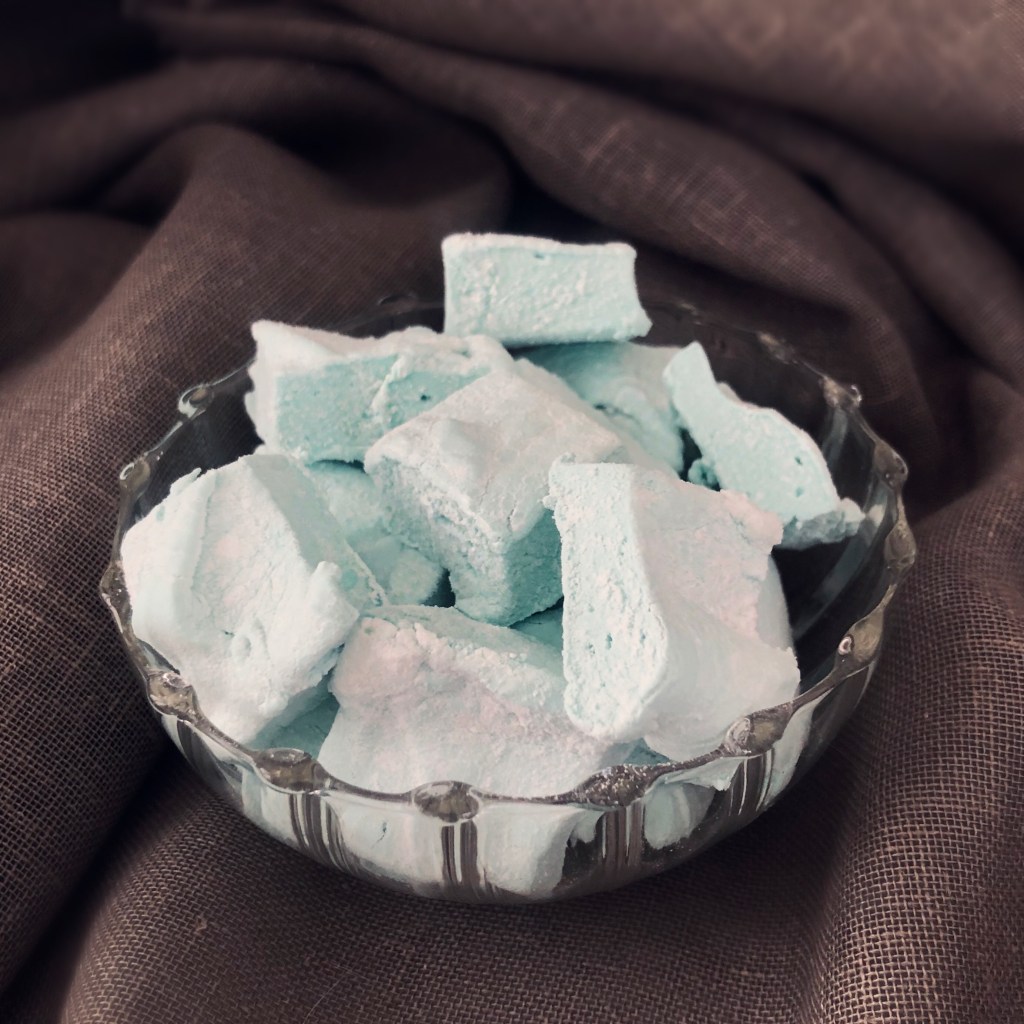
We once threw Little Monsieur a vintage airplane party, complete with mini suitcases as favour boxes, gorgeous rosettes made of old map paper etc. And of course, ever the theme perfectionist, I was hell-bound in giving out cloud-shaped marshmallows as part of the favours… I could picture them in my head, soft, fluffy, light blue. But after a few days of browsing the internet with no other options in the shaped marshmallows department beyond the ubiquitous squares and (sigh) hearts, I almost gave up. Just before I did though, a little thought came into my mind and just wouldn’t budge: “Hmm, how about I make some myself?”
Thankfully, I quickly found out that, when it comes to marshmallows, that’s perfectly achievable (unlike making a perfect birthday cake complete with piping and frosting and decorations, something I have never and will never attempt, I know my limits). I shaped them as clouds that day using cookie cutters, but you can use this basic recipe for any shape you want. This is super easy, and is a lot of fun to do with bored children during a rainy afternoon or, say, day 39 of lockdown.
Make sure you got all your ingredients lined up as you start, you don’t want to be scrambling for the gelatine when your syrup is ready…
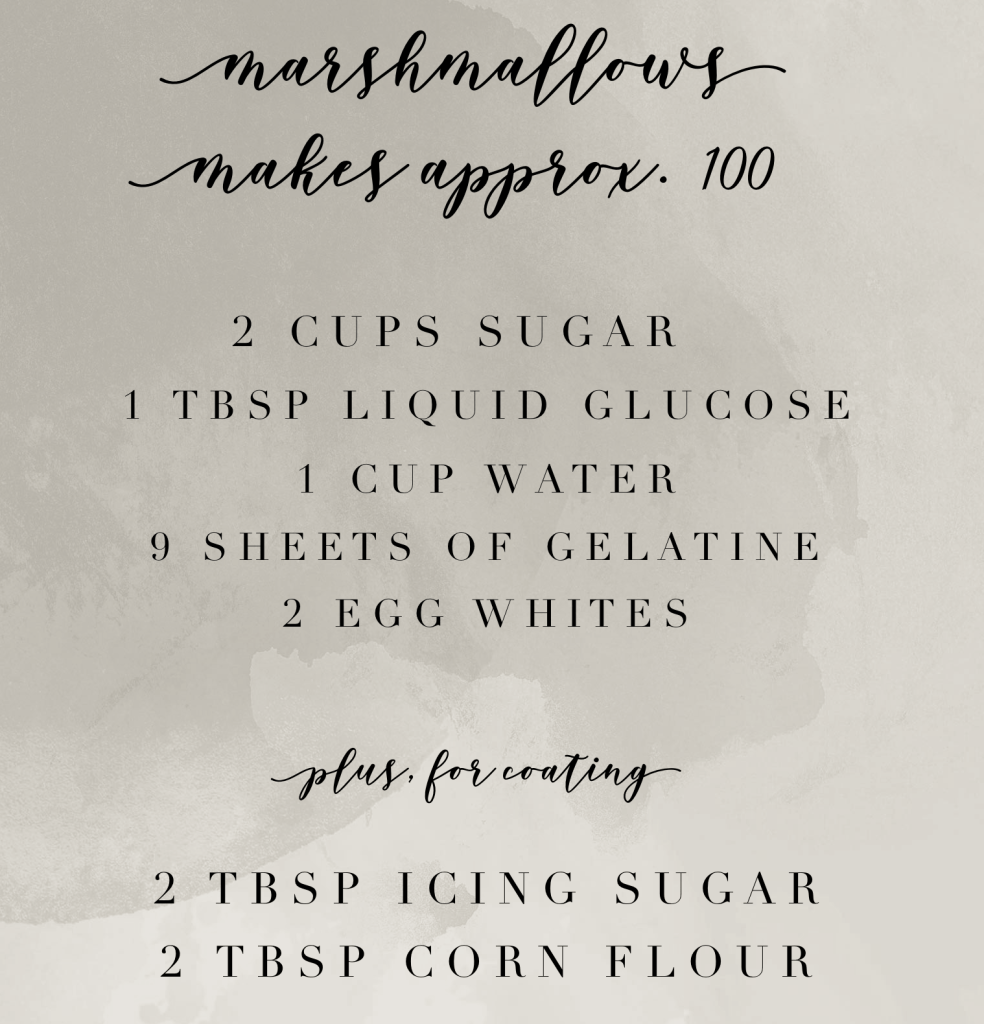
First, line a deep-ish baking tray with a mix of icing sugar and corn flour. If you don’t have icing sugar, take granulated sugar, pour it into your blender, and pulse until you get the right powdery texture. Soak your gelatine in cold water for at least five minutes. Whilst it’s soaking, make a syrup using only the caster sugar, water and glucose (you can use golden syrup if you don’t have glucose), and only add the gelatine once your syrup is thick and sticky (the original recipe says to check your sugar thermometre, who has time for sugar thermometres?! I test by running my spatula on the bottom of the pan, if it leaves a trace it’s good to go). Word of caution number one: when you pour the gelatine into the syrup is basicallt the moment when everything might go horribly wrong, as the mixture bubbles up and can risk burning your hand if you aren’t careful! You need to stir to stabilise the now quite thick syrup down. After you stabilise the syrup, pour it into a metal jug and let it cool down quite a bit.
Next step, meringue. For this, make sure your egg whites are super cold (so keep them in the fridge whilst you’re making the syrup) and add a pinch of salt, for good luck… Make sure you whip them until stiff, and for that I can only recommend an electric whip, unless you’re trying to break your own arm off. Carry on whisking as you pour the syrup in slowly: you’ll see the mixture turn super shiny and white… If you fancy a bit of flavouring add a couple of drops of vanilla extract here, also this is the right time for a little food colouring. Ok almost done. Now all you have to do is whisk for a further 10-15 minutes, until you get a thick mixture which holds on to the whisk; and this is where I’ll give you the second warning: the mix does stick to the whisk, and in fact it might even want to climb up it making a grand old mess, but trust me if you stop whisking too soon your marshmallows won’t firm up and you’ll have to start again from scratch… (I should know!)
Once you’re happy with your mix, pour into the tray (which has a generous coating of icing sugar and corn flour, remember?), and leave for a bit. Once the mix is completely cool, dust with more icing sugar and corn flour mix, then leave to rest and firm up for a couple of hours at least. Check the texture by tapping lightly with your finger. If it doesn’t stick to your finger, it’s time to shape. You can use any cookie cutter you want if you fancy shapes, just make sure you dip your cutter in the icing sugar and corn flour mix first; for standard marshmallows, use scissors dipped in the icing mix and cut bands then squares. Store in an air-tight container for a couple of weeks maximum with a bit more of the icing mix. If you leave them in a bowl the outside will harden over a day, but I can tell you these are so delicious it’s unlikely they survive too long in a house with sugar lovers…
These homemade marshmallows are super fluffy and don’t have the sticky gummy texture of the shop bought ones, also you’re saving your kids a few additives in the process so give yourself a pat in the back.
With love, S.